
Daisy Nails

For this mani you will need:
- blue, white and yellow polish
- a small brush
- a dotting tool
Start with the blue polish and paint all your nails. I used two coats with mine as I like to have a solid base colour.

Then with your small brush, paint 4 white lines, in a cross shape, these will be your first 4 petals for your daisy.

Then paint another white line in between each of the lines you have just painted, it should look something like this.

Keep adding more petals until you're happy with how it looks, I keep going until I can't see too much blue in between the white.

When the white has dried it's time to add the yellow pollen in the middle of the flower. To do this you will need your dotting tool and your yellow polish. Dip your dotting tool into your polish and then dot the colour into the middle of the flower. Keep dotting until you are happy with the size of the yellow circle.

With some of my nails I started the daisies off at the side to give a little bit of variation. To do this just use the edge of your nail as the centre of the flower and work your petals out from there.

Add your top coat and away you go!
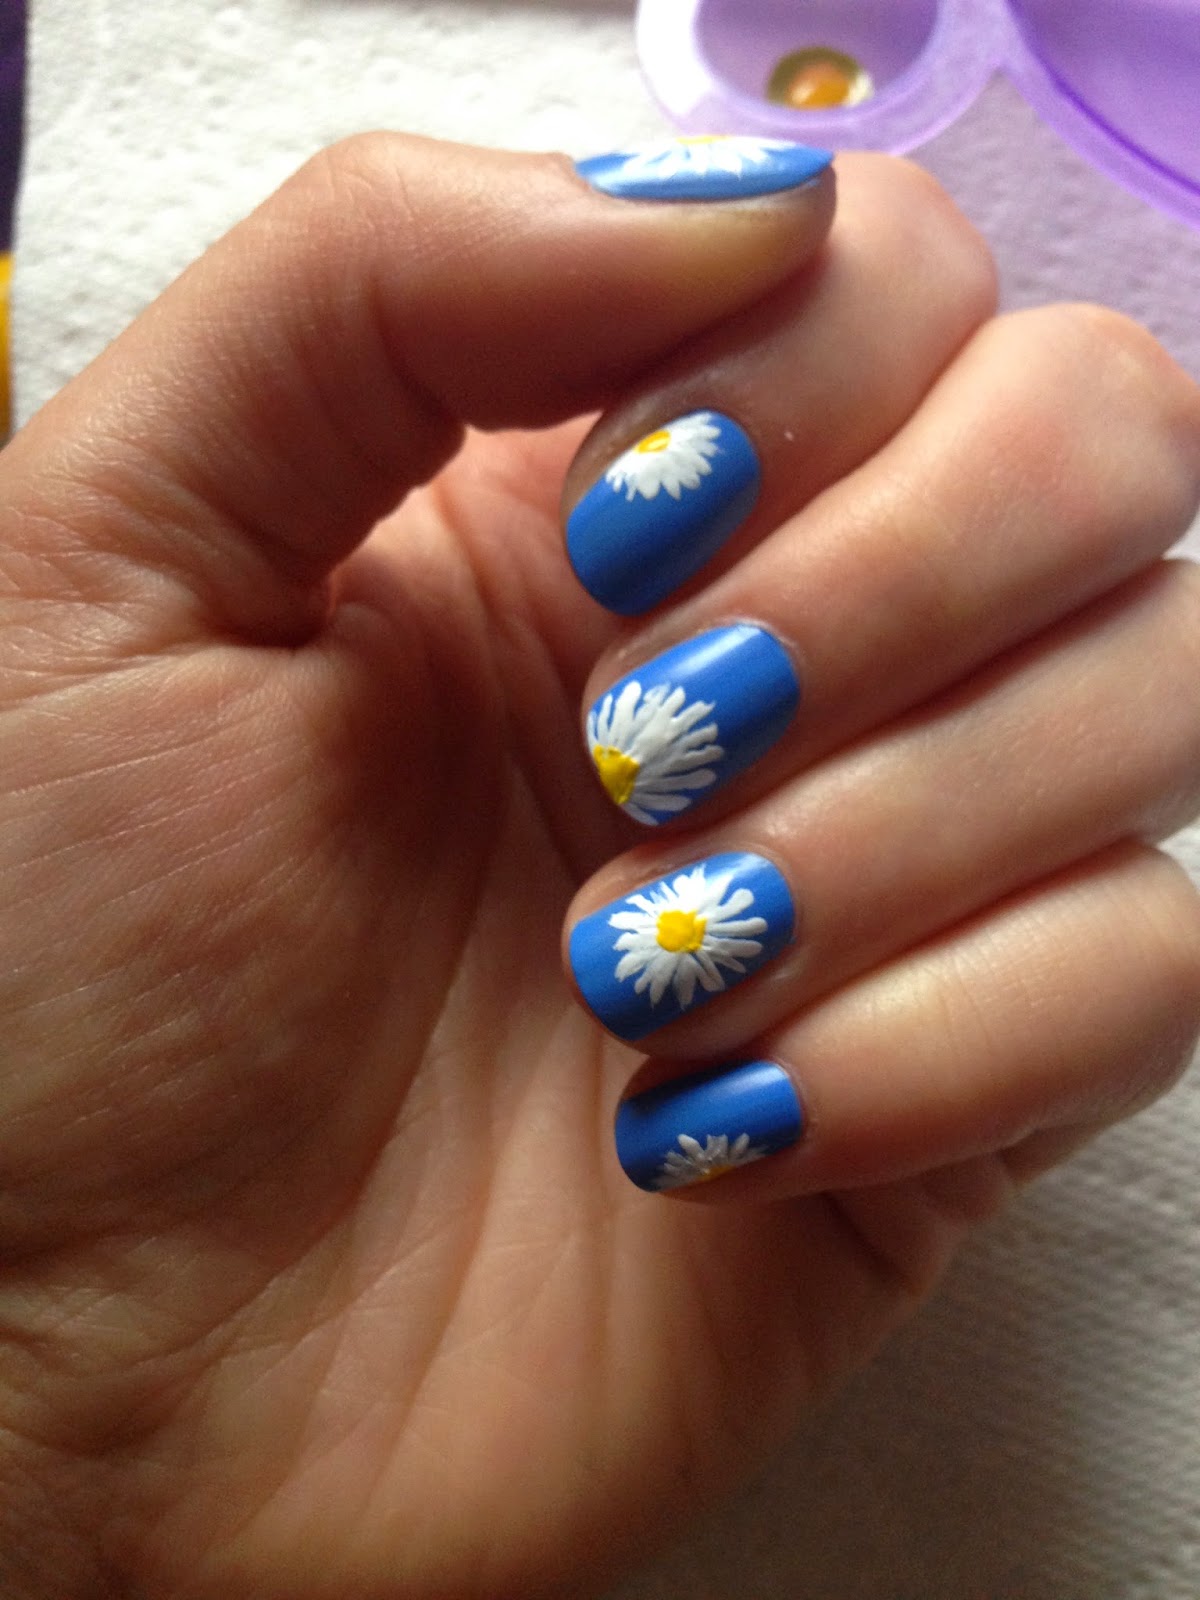
This is a really summery mani, it reminds me of blue skies and making daisy chains with my grandma as a child.
The polishes I used in this mani were:
- Boots Seventeen - Light Blue
- Boots Natural Collection - Nail Tip Whitener
- Boots 17 Fast Finish - Go Go
Rachel x
No comments:
Post a Comment