Showing posts with label love nail art. Show all posts

Sunday, 22 February 2015

Disney: Up! Nails

So it's one week until we're off to Florida! Here's another Disney mani for you. I love the film UP! It's such a lovely story. That's the film that has been the inspiration for this mani.


Up Nails


For this mani I used:
  • small nail art brushes
  • dotting tools
  • blue, white and black nail polish
  • a make up sponge
  • a selection of bright polishes for the balloons


I started by painting all of my nails white so that I had a solid base for my gradient. To do a gradient with nail polish it's easiest to use a make up sponge. To make it look like it's really high in the sky I wanted the tip of my nails to be white and the part near the cuticles to be blue. To do this, I painted a stripe of blue polish and a stripe of white polish onto a make up sponge.
I then dabbed the sponge onto my nail a few times until I got a colour I was happy with.
Using my brightly coloured polishes and my dotting tool I placed random dots on all my nails except my ring finger.
For my ring finger nail. I starting by dotting random balloons in a triangle shape, with the widest part of the triangle starting at the cuticle end of my nail and the point being about a third of the way down my nail.

For the house, I used black polish. I started by painting a black rectangle, I then added the roof.


I then painted a few thin black lines from the roof of the house up to the balloons to make it look like the strings.
There we have it, my Up mani. I'm so excited for Florida now!

The polishes I used in this mani were:
  • Miss Sporty - Blue
  • Miss Sporty - Black
  • Boots Seventeen Colour Carnival - White
  • Boots Seventeen Colour Carnival - Light Blue
  • Kiko - Green
  • Barry M - Shocking Pink
  • Barry M - Passion Fruit
  • Make Up Time - Bright Yellow
Rachel x

Saturday, 21 February 2015

Spider-Man Nails

My boyfriend doesn't understand my nail art haha, I'm not sure many guys understand why we girls love nail polish! I created these Spider-Man nails to show him how awesome nail polish can be!

Spider-Man Nails


For this mani I used:
  • red, blue, black and white nail polish
  • small nail art brushes


I couldn't get the Spider-Man mask to fit on one nail so I decided to spread it across to 2 nails.
Start by painting your thumb, middle finger and ring finger nails with the red polish and your other 2 nails with the blue.
For spideys mask, start with the eyes. To do this, use the black polish and paint a pointed oval about half way down your 2 red nails.
Then you need to create the web look. Using the black polish again paint thin curved lines across your nails. They all need to start between spideys eyes and spread out across to each side of the nails. Try to match up the lines on each nail.
Next paint a few curved lines between each of the lines you've already created to get more of a web look.
Then when all the black details have dried you need to add the white to his eyes. To do this use your white polish to paint over the black ovals. Don't completely cover the all of the black, leave an outline.
Now for the spider on the thumb nails. Using the black polish again, paint a thick line with a pointed end towards the tip of your nail.
For the legs, paint 8 little lines coming out of the body, then from the end of each line paint another longer line towards the edges of your nail.


There you have it. Spider-Man nails! I added webs to the blue nails too but with the blue polish being quite dark the webs don't stand out that well.


 The polishes I used in this mani were:

  • Nails Inc. - Luminous Red
  • Models Own Artstix - Betty Blue
  • Boots Natural Collection - Nail Tip Whitener
  • Miss Sporty - Black

I hope you enjoy trying out this mani. My boyfriend was quite impressed with these nails, he still can't see why I need to keep buying more polish though.

Rachel x

Tuesday, 17 February 2015

Rainbow and Cloud Nails

I bought a blue Miss Sporty polish the other day that made me think of blue skies and made me want to create a mani which included clouds and blue skies. So here is my rainbow mani with blue skies.

Rainbow Nails


For this mani you will need:
  • blue nail polish
  • white nail polish
  • selection of coloured polishes
  • dotting tool
  • small nail art brush


Start by painting your nails with the blue polish. I left the ring finger for the rainbow.
I got a little too into this mani and forgot to take photos for the next few steps.
Next paint your designated rainbow nail with white polish.
I started my rainbow with the middle colour so it would be easier to work out how thick each line needed to be.
Keep adding more colours to your rainbow nail, if you want a neater edge to each colour use nail art tape as a guide but as a mentioned before, I got a little too into this mani and didn't have time to find my tape so I painted each colour freehand.
For the clouds on the blue nails you'll need your white polish and a dotting tool. Using your dotting tool place a white dot on your nail.
To turn the dots into clouds, add smaller dots to the side of the first dots. Make some clouds with 2 dots and some with 3 so it doesn't look too uniformed.
There we have it! Rainbow and sky nails! There's no rainbows without rain and there's no rain without clouds.
I love the sky nails, I think they look great, it's a really nice blue!

The polishes I used in this mani are:
  • Red - Barry M - Passion Fruit
  • Orange - Boots 17 Lasting Fix - Tropical Island
  • Yellow - Boots 17 Fast Finish - Go Go
  • Green - Barry M - Neon Green
  • Blue - Boots Colour Carnival by Seventeen - Light Blue
  • Indigo - Models Own Artstix - Betty Blue
  • Violet - Sinful Colours - Let's Talk
  • Blue sky - Miss Sporty Clubbing Colours
  • Clouds - Boots Natural Collection - Nail Tip Whitener
Rachel x

Thursday, 12 February 2015

Chrome Love

I wanted to use my new chrome polishes in a mani and since Valentines day is coming up and I love these polishes what better way to use them?


Chrome Love


For this mani you will need:

  • white polish
  • 3 shades of pink/purple polishes
  • dotting tool


Start by painting all your nails white.


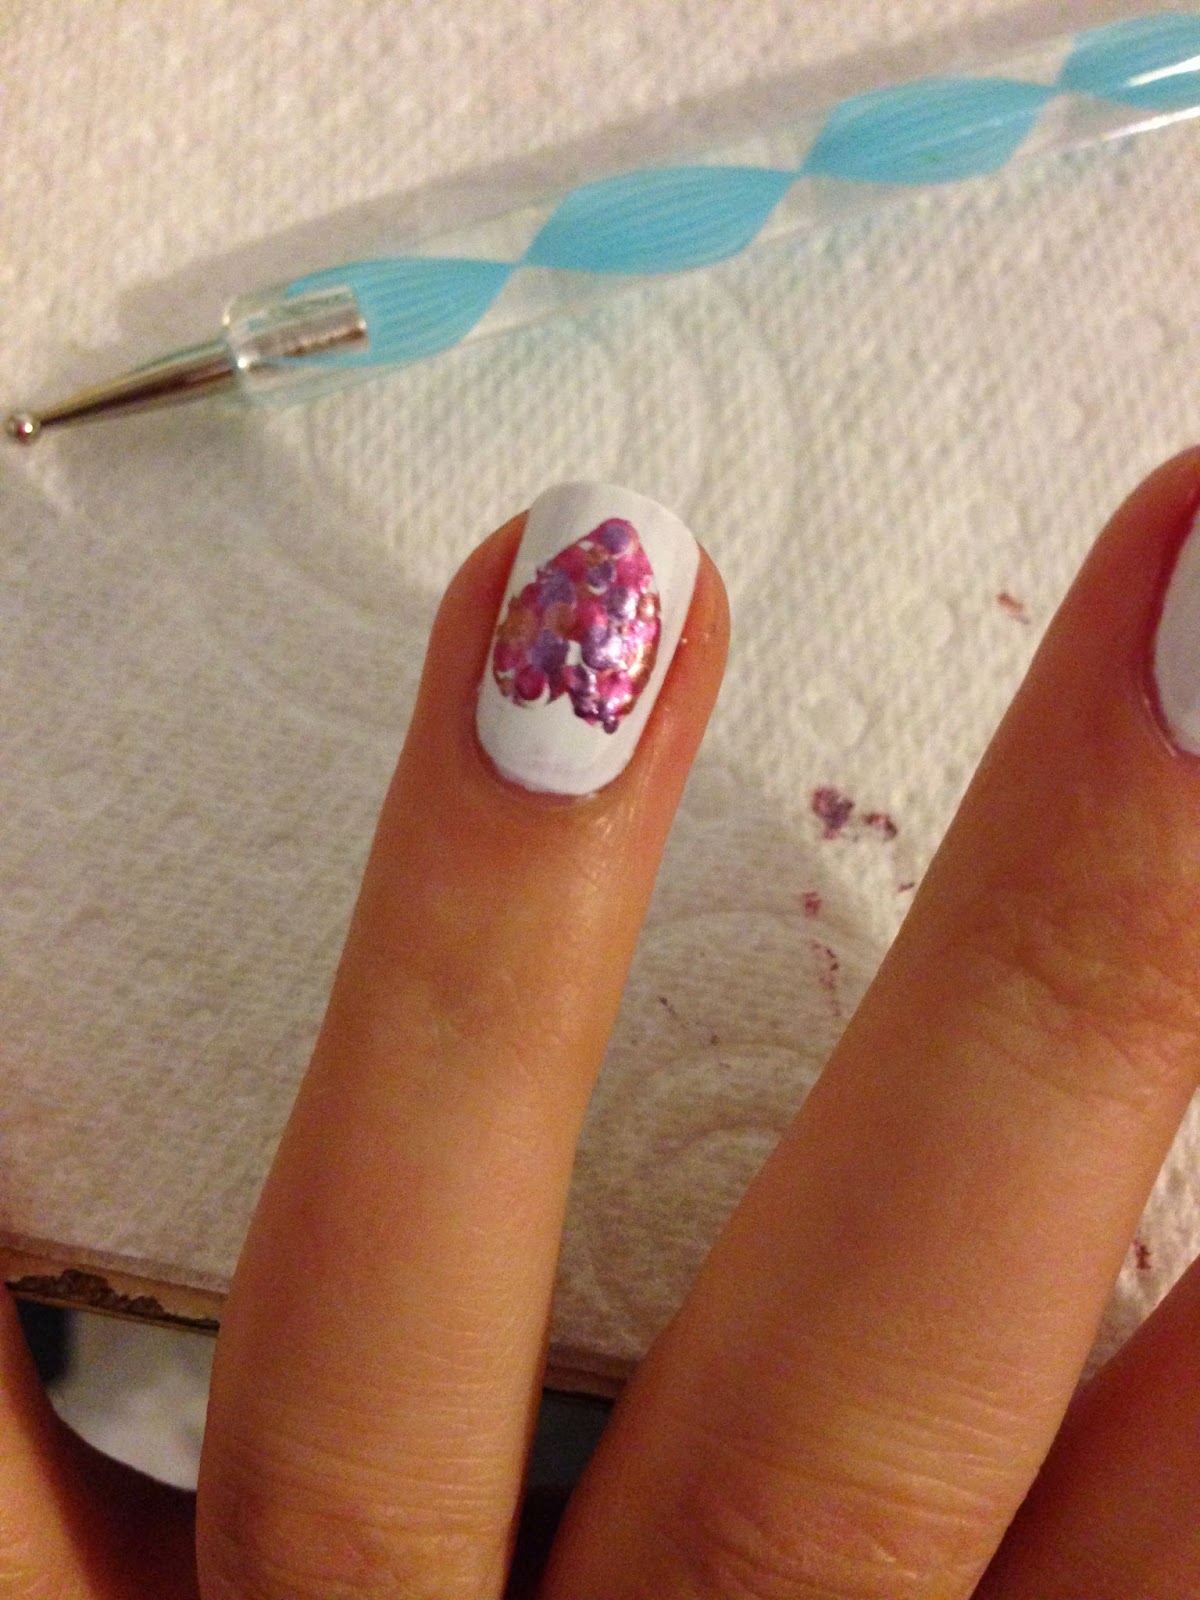
Then with your first pink/purple polish start dotting your nails, do this one colour at a time to build up the dots. Start with bigger dots at the tip and smaller dots towards your cuticles.


Keep adding more dots in the different shades and sizes until you're happy.


On my ring finger, I first painted a pink heart outline. I then randomly filled this in with different coloured dots.


And there we have it, a quick and simple valentines mani using my fave polishes.


I love the shine the Models Own chromes give off!

The polishes I used in this mani were:

  • Boots Natural Collection - Nail Tip Whitener
  • Models Own - Chrome Cerise
  • Models Own - Chrome Rose
  • Models Own - Chrome Mauve
Much love!

Rachel x